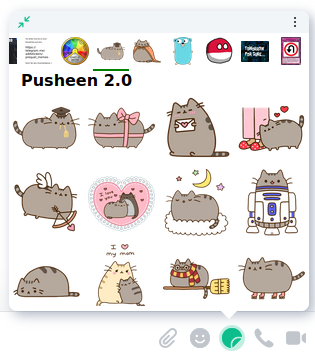
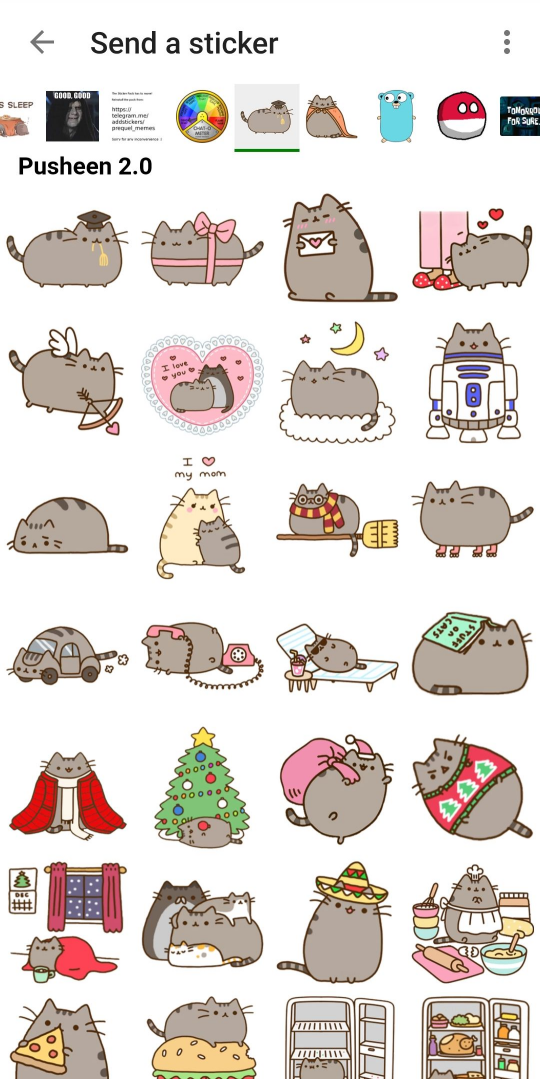
Maunium sticker picker
A fast and simple Matrix sticker picker widget. Tested on Element Web, Android & iOS.
Discussion
Matrix room: #stickerpicker:maunium.net
Utility commands
In addition to the sticker picker widget itself, this project includes some utility scripts you can use to import and create sticker packs.
To get started, install the dependencies for using the commands:
- Make sure you have Python 3.6 or higher.
- (Optional) Set up a virtual environment.
- Create with
virtualenv -p python3 .venv - Activate with
source .venv/bin/activate
- Create with
- Install the utility commands and their dependencies with
pip install .
Importing packs from Telegram
To import packs from Telegram, simply run sticker-import <pack urls...> with
one or more t.me/addstickers/... URLs.
If you want to list the URLs of all your saved packs, use sticker-import --list.
This requires logging in with your account instead of a bot token.
Notes:
- On the first run, it'll prompt you to log in to Matrix and Telegram.
- The Matrix URL and access token are stored in
config.jsonby default. - The Telethon session data is stored in
sticker-import.sessionby default. - By default, the pack data will be written to
web/packs/. - You can pass as many pack URLs as you want.
- You can re-run the command with the same URLs to update packs.
Creating your own packs
- Create a directory with your sticker images.
- The file name (excluding extension) will be used as the caption.
- The directory name will be used as the pack name/ID.
- Run
sticker-pack <pack directory>.- If you want to override the pack displayname, pass
--title <custom title>.
- If you want to override the pack displayname, pass
- Copy
<pack directory>/pack.jsontoweb/packs/your-pack-name.json. - Add
your-pack-name.jsonto the list inweb/packs/index.json.
Enabling the sticker widget
-
Serve everything under
web/using your webserver of choice. Make sure not to serve the top-level data, asconfig.jsonand the Telethon session file contain sensitive data. -
Using
/devtoolsin Element Web, edit them.widgetsaccount data event to have the following content:{ "stickerpicker": { "content": { "type": "m.stickerpicker", "url": "https://your.sticker.picker.url/?theme=$theme", "name": "Stickerpicker", "data": {} }, "sender": "@you:picker.url", "state_key": "stickerpicker", "type": "m.widget", "id": "stickerpicker" } }If you do not yet have a
m.widgetsevent, simply create it with that content. You can also use the client-server API directly instead of using Element Web.The
theme=$themequery parameter will make the widget conform to Element's theme automatically. You can also uselight,darkorblackinstead of$themeto always use a specific theme. -
Open the sticker picker and enjoy the fast sticker picking experience.

